
In this article
The short answer
To design a custom canopy online at BoothBright, open the 3D tent builder, choose your size, frame and walls, then add your logo and message to each printable surface and check the result from outside, inside and below. When it reads well, download a preview, save the design, or save it and add it to your cart. The price updates as you choose options; shipping and tax are calculated separately.
The 3D view is a placement preview, not a final print proof. After you order, our designer sends a production proof that confirms color, cut lines, seams and final dimensions, and nothing prints until you approve it.
What to gather before you open the builder
Most of the time spent in an interactive canopy builder online is not spent clicking. It is spent hunting for a logo file or guessing at the space. Collect these five things first and the configuration takes minutes.
- The real footprint and the rulebook. Get the space size from the organizer, plus any rules about walls, height, weights or fire ratings. A market listing of 10x10 is a starting point, not a measurement.
- Original logo files. A vector file (SVG, PDF, AI or EPS) or a large PNG is far better than a logo copied from a website or social profile.
- One primary message. Decide the single line a passerby should read from across the aisle: what you sell, or the name people search for.
- Where people will see you from. Note which sides face the walkway, which face a neighbor, and whether people mostly approach head on or walk past.
- Your event date. Tell us before you order if you have a fixed date, so we can confirm whether it can be made.
For indoor exhibitions, canopies can face extra limits. The IAEE Guidelines for Display Rules and Regulations note that canopies and ceilings in exhibit booths can be restricted by line of sight, fire and facility rules, and that each show's own manual governs. Outdoor markets and fairs set their own rules, so read the organizer's guidance for your event rather than applying indoor exhibition rules to it.
Step by step: configure the tent
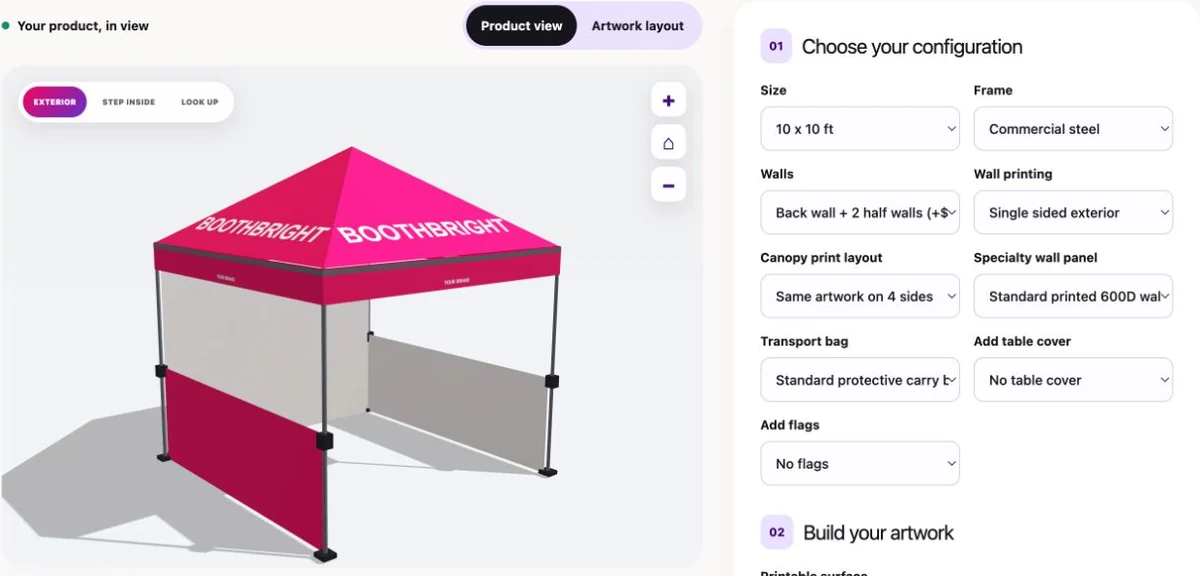
The builder at Build your tent uses the same options as the custom pop up canopy product page. Work through them in this order, because each choice changes which surfaces you will design.
1. Size. Choose nominal 10x10, 10x15 or 10x20 ft. Pick the size your space allows, not the biggest that fits on paper, and allow room for weights and walking clearance. The custom canopy size guide walks through matching a canopy to a space.
2. Frame. Choose steel or aluminum. Treat this as a handling decision: think about who carries and sets up the tent, how often, and how far from the vehicle. The product page lists the current frame details for each option.
3. Walls. Choose no wall, a back wall, or a half or full wall configuration. Walls add printable area and shade but close off sightlines, so decide which sides must stay open for customers to walk in. The custom canopy tent wall options guide compares the configurations in detail.
4. Wall printing and print layout. If you add walls, choose exterior printing or double side printing, and whether the roof uses the same art on all four sides or unique art on each. Double side printing matters when the inside of a wall faces your customers or your own photos.
5. Specialty wall panel and accessories. Optional mesh, clear window and zipper door panels change how a wall works rather than how it looks. Then decide on a transport bag, a table cover and flags. Each choice updates the price shown in the builder.
| Decision | Current options | What it changes in your design |
|---|---|---|
| Size | Nominal 10x10, 10x15 or 10x20 ft | Roof and valance proportions and how much room your message has |
| Frame | Steel or aluminum | Carrying and setup, not artwork |
| Walls | None, back wall, half or full wall configurations | Which wall surfaces exist to design and which sides stay open |
| Wall printing | Exterior or double side | Whether the inside face of a wall carries artwork |
| Print layout | Same art on four sides, or unique art each | Whether you design one roof side or four |
| Specialty panel | Optional mesh, clear window or zipper door | Airflow, visibility or an entrance in a wall |
| Accessories | Transport bag, table cover, flags | Extra branded surfaces and transport |
Designing the artwork surfaces
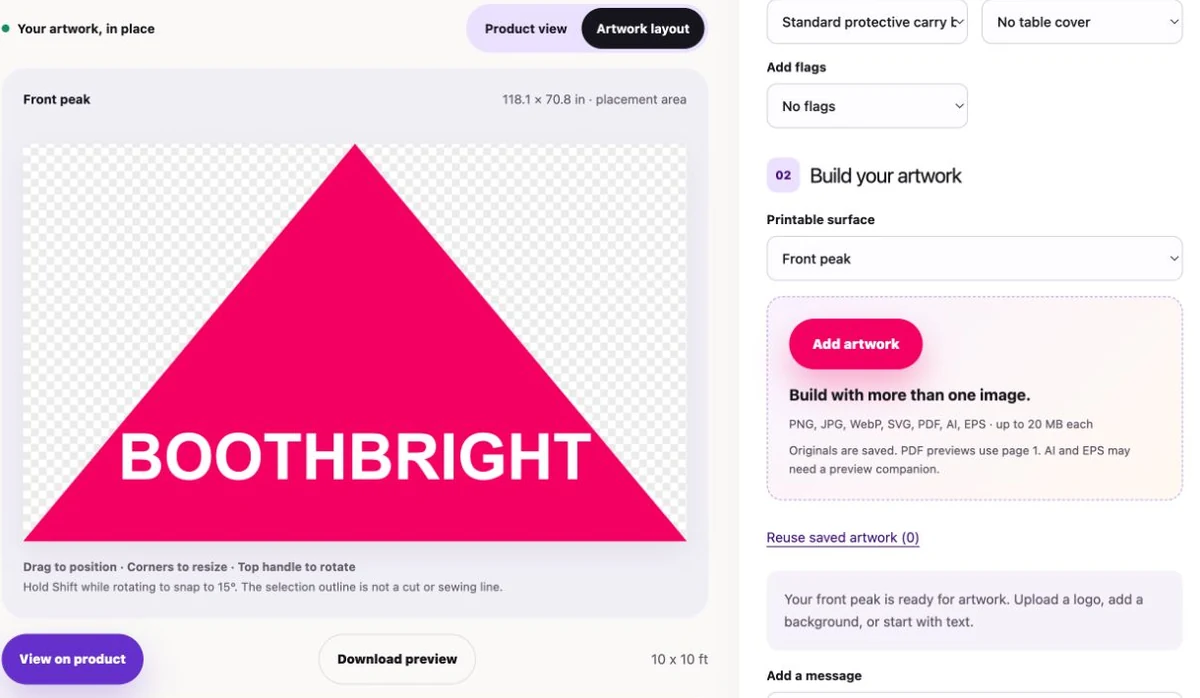
Once the tent is set, click a panel to select it and add your artwork and message. You can reuse artwork you have already added, so a logo uploaded for the roof can go on a wall without uploading it again. Only the surfaces your configuration includes can be designed, so if a wall is missing from the list, check your wall choice first.
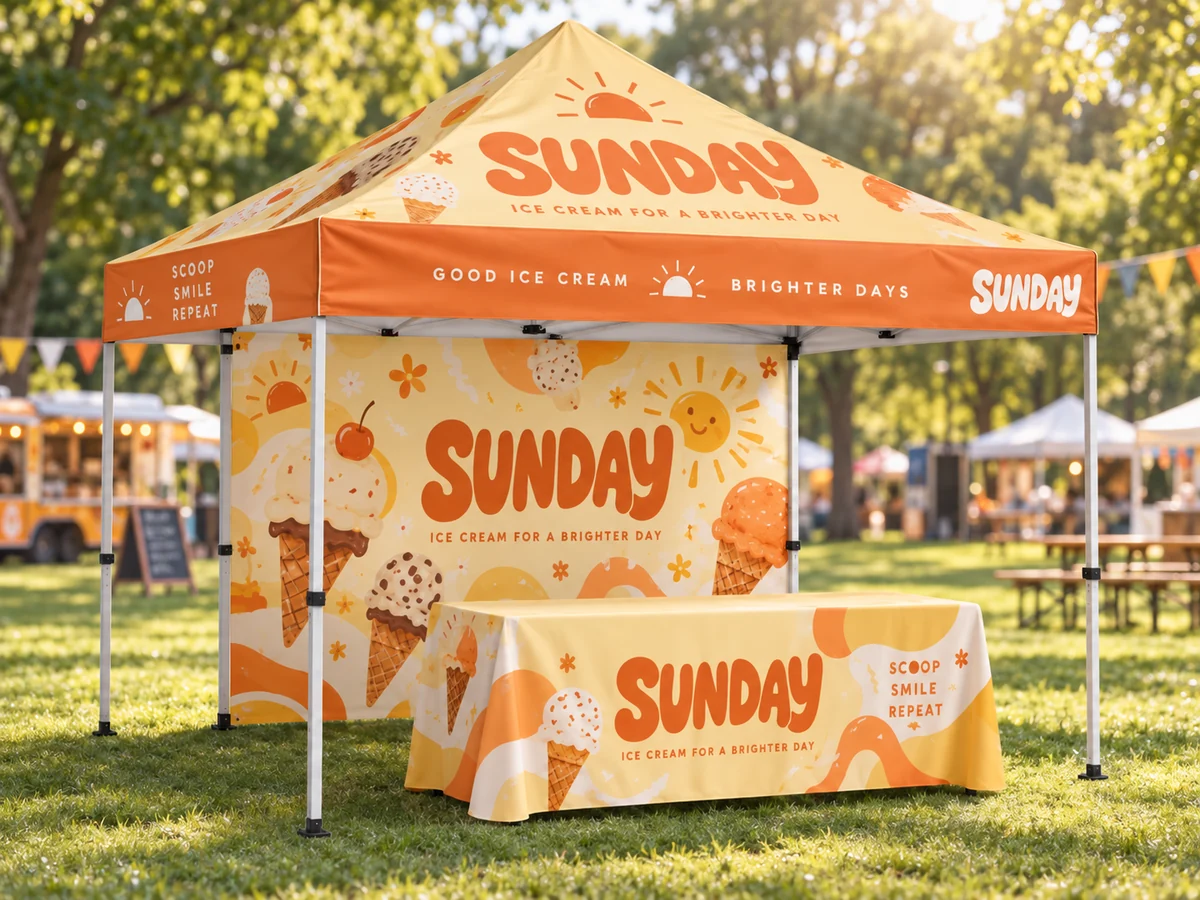
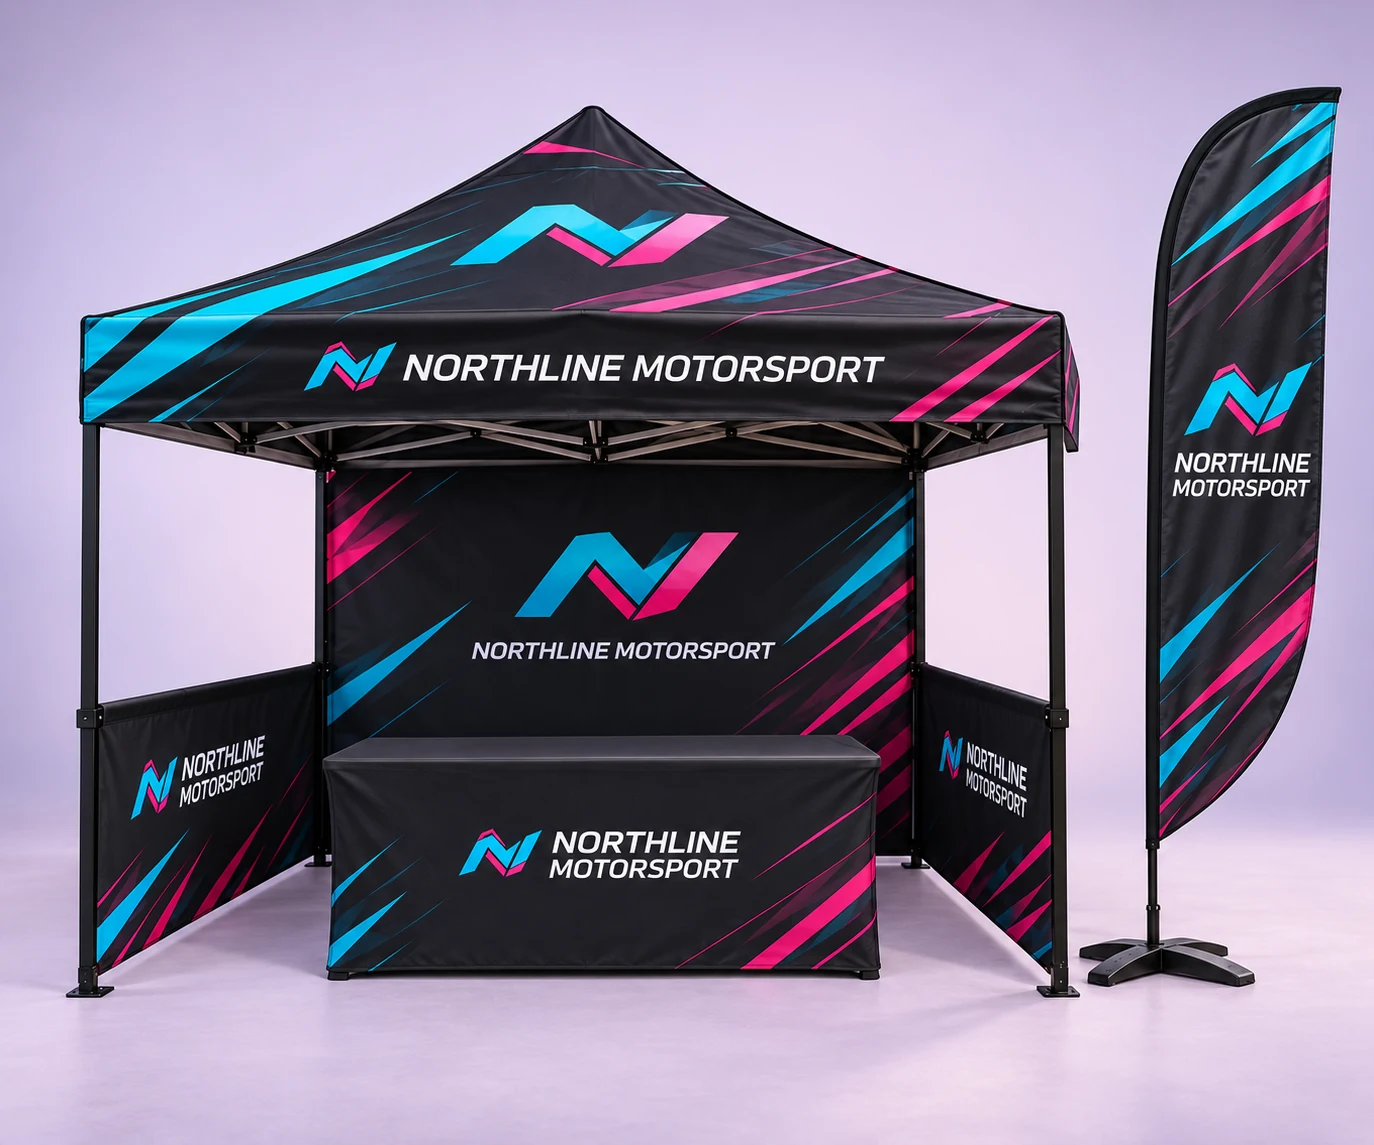
Good custom pop up canopy design gives each surface one job. A simple hierarchy that works for most stalls:
- Roof peaks: your name or logo, large and simple. It is the part people see from farthest away, above the crowd.
- Valance: the one line that explains what you do, or your web address. It sits at eye level for people walking toward you.
- Back wall: the biggest canvas, seen by people looking into the tent. Use it for a strong image or the logo again, positioned above where a table and people will block the lower part.
- Side walls: repeat the brand for people passing along the walkway; keep detail low because they are seen at an angle.
- Table cover: a final, close range reminder of the name.
Use the two views together. Product view shows the assembled tent, so you can orbit around it, step inside, and look up at the roof to judge how the design reads from where customers stand. Artwork layout shows each surface flat, which is where you check placement, spacing and whether anything sits too close to an edge. A logo that looks centered flat can look low once the valance drapes, and the 3D view is how you catch that.
File requirements before you upload
The builder accepts PNG, JPG, WebP, SVG, PDF, AI and EPS files up to 20 MB each. A PDF previews from its first page, so put the artwork you want on page one. AI and EPS files may need a companion preview image, such as a PNG export, so the builder can show them while the original goes to production.
Vector logos stay sharp at canopy size; small web images usually do not. The print ready artwork guide covers resolution, color and outlining fonts. If you only have a low resolution logo, say so when you order, or request a free design and our team can help prepare it.
What the 3D preview shows and what the proof confirms
A canopy artwork preview on screen is a planning tool. It is excellent for placement and terrible for color judgment, because every screen shows color differently. Use the table to know which questions the builder can answer and which wait for the proof.
| Question | 3D builder preview | Designer's production proof |
|---|---|---|
| Is my logo on the right surface? | Yes, shows placement on each panel | Confirms it |
| Does the message read from the walkway? | Yes, from Exterior, Step inside and Look up | Confirms final position |
| Is the configuration right? | Yes, size, frame, walls and accessories | Confirms what will be made |
| Exact print color | No, depends on your screen | Confirms color for production |
| Cut lines and seams | Approximate | Confirms where seams and cuts fall |
| Final printed dimensions | Approximate | Confirms final dimensions |
| Will it print now? | No | Only after you approve the proof |
A worked example: a 10x10 outdoor market stall
A planning scenario to show the reasoning. Your space, rules and choices will differ; measure your own space and read your organizer's guidance.
- Space
- Organizer lists a 10 x 10 ft outdoor pitch; vendor measures it on site and confirms room for weights
- Visibility
- Front faces the main walkway; back faces a hedge; one side faces a neighbor, the other a cross path
- Size and frame
- Nominal 10x10 to match the measured pitch; frame chosen for who sets up alone each weekend
- Walls
- Back wall only, so the front and both sides stay open for customers to walk in
- Wall printing
- Double side printing, because the inside of the back wall is the backdrop customers see behind the table
- Roof layout
- Same art on four sides, since people approach from several directions
- Hierarchy
- Name on the roof peaks, one line about the product on the valance, large logo high on the back wall
- Extras
- Table cover with the name; a transport bag for storage between markets
- Review
- Checks Exterior from the walkway, Step inside from behind the table, Look up at the roof, then saves the design
Before you save, download or add to cart
- Size matches the measured space, not just the listed space.
- Wall configuration keeps the right sides open for customers.
- Wall printing choice matches who sees the inside of each wall.
- Every printable surface you included has artwork, or is left plain on purpose.
- Name and main message read from Exterior, Step inside and Look up.
- Nothing important sits close to a panel edge in Artwork layout.
- Spelling, phone number and web address checked by a second person.
- Uploaded files are originals; AI or EPS files have a preview companion.
- Organizer rules checked for walls, weights and any fire rating requirement.
Then pick the action that fits where you are. Download preview gives you an image to share with a partner or an organizer. Save design keeps your work so you can come back and change it. Save design and add to cart saves it and moves you toward checkout. You still get a production proof after you order and pay, and nothing prints until you approve it.
Want to compare other canopy setups first? Browse custom canopy tents, or read how to design a custom canopy for general design principles.
Common questions
Can I design a custom canopy online without design software?
Yes. BoothBright's 3D tent builder lets you choose the size, frame, walls and accessories, then add your logo and message to each printable surface in the browser. You only need your logo file and message.
Is the 3D builder preview my final print proof?
No. The builder is a placement preview. After you order, our designer sends a production proof that confirms color, cut lines, seams and final dimensions, and nothing prints until you approve it.
What file types can I upload to the canopy builder?
PNG, JPG, WebP, SVG, PDF, AI and EPS files up to 20 MB. A PDF previews from page 1, and AI or EPS files may need a companion preview image such as a PNG export.
What canopy sizes can I design in the builder?
Nominal 10x10, 10x15 and 10x20 ft, with a steel or aluminum frame. Choose the size from your measured event space and the organizer's rules, not only the listed space size.
Can every part of the canopy be printed?
Only the surfaces in your chosen configuration can be designed. Walls appear when you add them, wall printing can be exterior or double side, and the roof can use the same art on four sides or unique art on each.
Does the builder show the price?
Yes. The price updates as you choose options. Shipping and tax are calculated separately at checkout.
Can I save a design and finish it later?
Yes. Save design keeps your work to reopen later, Download preview gives you an image to share, and Save design and add to cart saves it and adds it to your cart.
Start your canopy design
Open the builder with your measured space and logo ready, or ask our team to lay out the artwork for you.
References
- International Association of Exhibitions and Events, Guidelines for Display Rules and Regulations (PDF) ↗ — Indoor exhibition canopies may face line of sight, fire and facility restrictions; each show's manual governs
- BoothBright custom pop up canopy — Current sizes, frames, walls, printing and accessory options
- BoothBright 3D tent builder — Views, surface controls, file types and save options