
In this article
The short answer
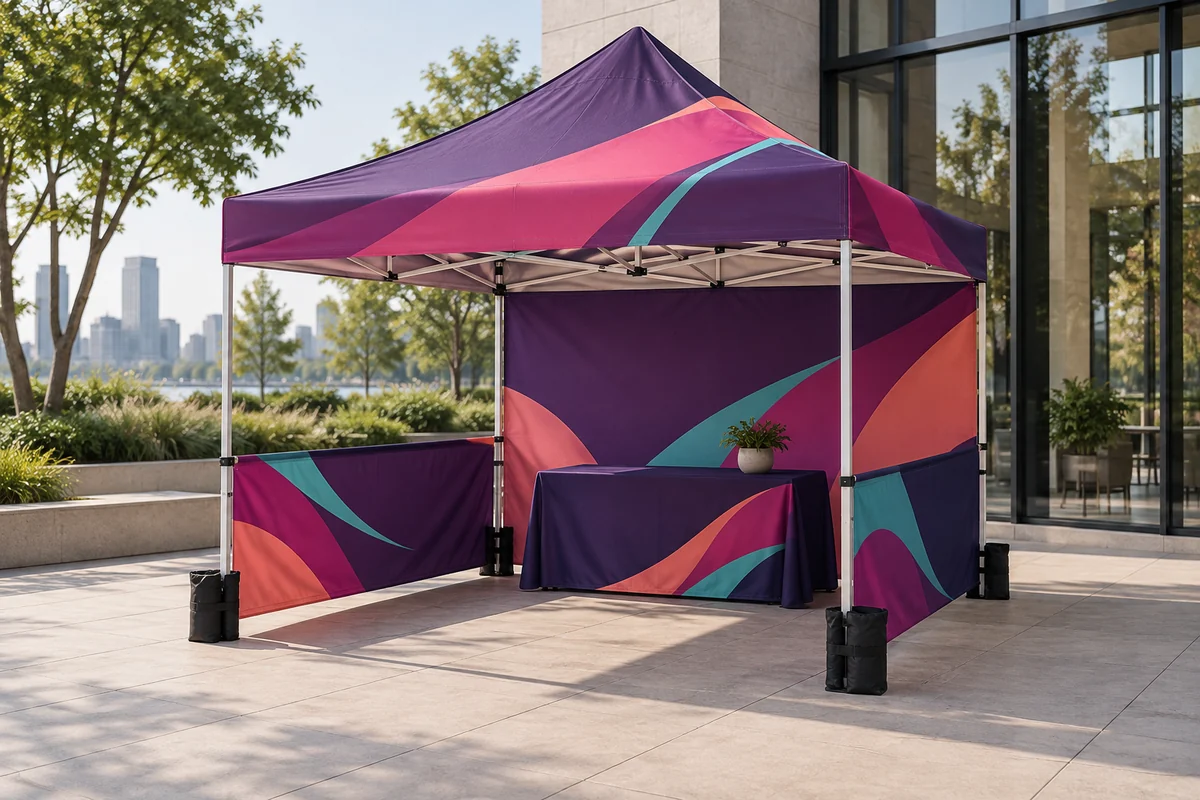
A printed back wall is the highest value first upgrade: it hides whatever is behind your space and gives you one large, uninterrupted brand surface. Add half walls when you want the footprint defined without closing the sides, and full side walls when you need coverage, a way of keeping stored supplies out of view, or a controlled single entrance.
The BoothBright Custom Pop Up Canopy lists wall configurations from canopy only through a full back wall, back plus one or two half walls, back plus one or two full side walls, and separate choices for which faces are printed. Specialty panels including a printed mesh airflow wall, a clear vinyl window wall, and a zipper door wall are listed as optional replacements for one selected wall.
Start with how people should walk in
The existing canopy size guide covers footprint, and this is the next decision after it. Before comparing wall options, sketch your space as the organizer assigned it and mark where the crowd flows past. A booth with people arriving from both sides wants two open sides. A booth at the end of a row, with a wall or a service road behind it, wants that side closed so nobody sees your storage.
Also decide where a queue will form if you hand something out. Half walls are useful here: they give people a natural edge to line along without hiding your team from the aisle. Full side walls do the opposite, funneling everyone to one opening, which is helpful for a controlled demo and unhelpful for a busy sampling booth.
The four configurations compared
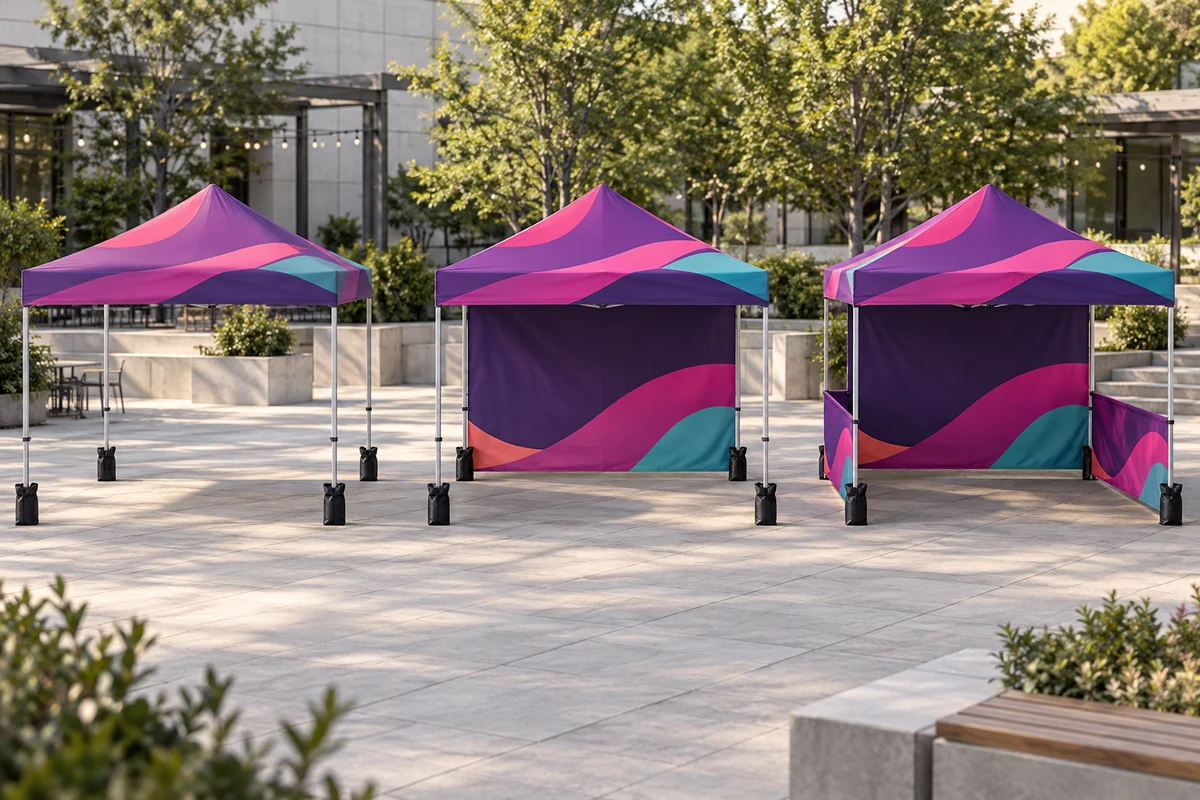
| Configuration | Entry and flow | Brand surface | Best when |
|---|---|---|---|
| Canopy only | Open on all four sides; people walk through from any direction | Roof peaks and valances | Maximum access, shade, and a light packed load |
| Printed back wall | Three open sides, one visual anchor behind the team | Roof plus one large wall face | Hiding a background and creating a photo backdrop |
| Back plus half walls | Front stays open, sides defined at waist height | Roof, back wall, and two lower side panels | Defining a footprint and organizing a queue |
| Back plus full side walls | One controlled opening at the front | Roof plus three large wall faces | Weather coverage, keeping stored supplies out of view, and focused demos |
Specialty panels change the character of one wall without changing the whole configuration. A printed mesh airflow wall lets more air through a long enclosed run. A clear vinyl window wall keeps a product visible while the side stays closed. A zipper door wall gives you a closable opening when the booth is left set up between sessions. Each is listed as a replacement for one selected wall, so plan which wall it replaces.
Where the artwork actually gets seen
Wall printing is a separate choice from wall configuration. Single sided exterior printing puts artwork on the outward face, which is what the aisle sees. Double sided printing means the inward face carries artwork too, which matters more than people expect: the inside of your back wall is the background of every photograph taken in your booth and every video call your team makes from it.
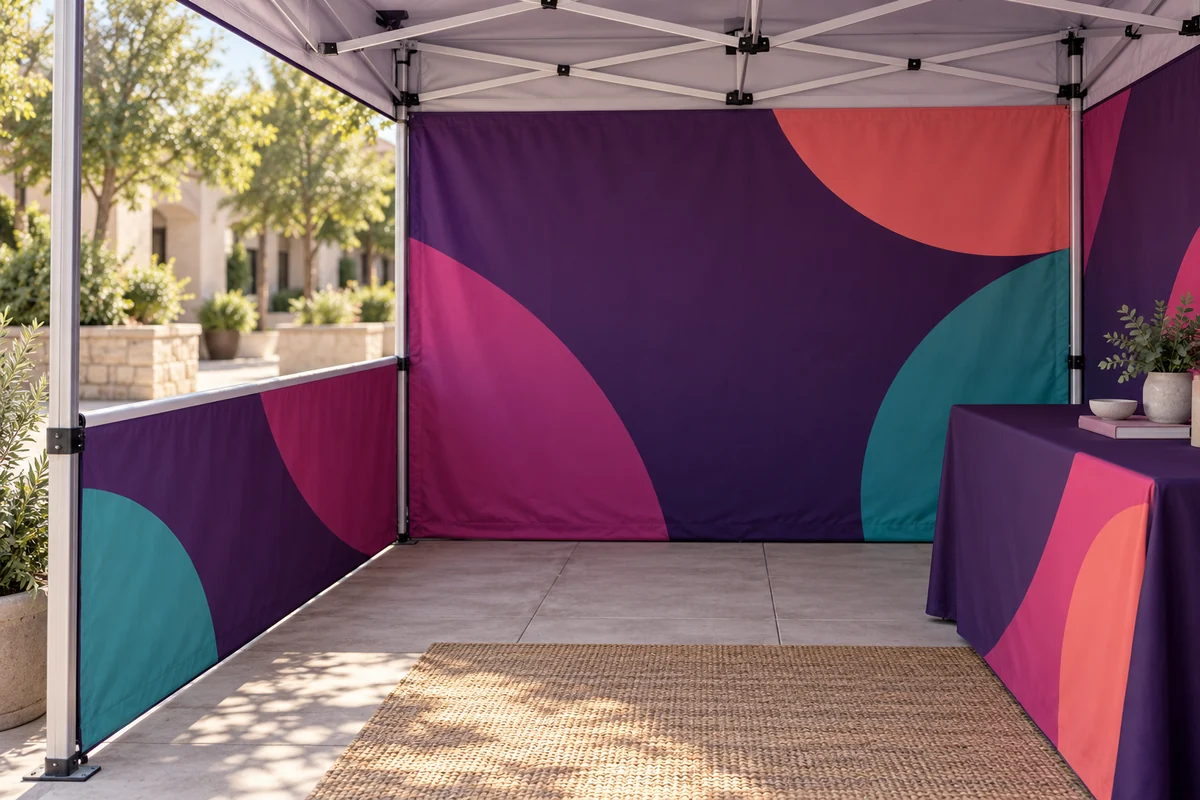
- Single sided exterior: the aisle sees branding; the interior stays plain.
- Double sided back wall: the interior becomes a clean branded backdrop for photos and demos.
- Double sided on all selected walls: a fully branded interior, which suits enclosed booths and press or interview setups.
The canopy top is a separate layout decision again. The configurator offers the same artwork on four sides or unique artwork on every side, and the product lists four peaks and four valances as printable faces. Unique artwork per side is worth it when different sides face different audiences, such as a name toward the aisle and an offer toward the entrance.
Frame and attachment compatibility
Walls are made to attach to a specific frame. The Custom Pop Up Canopy lists a commercial steel frame and a premium aluminum frame, with a 40 mm hex profile noted for the aluminum option and a note to confirm the exact steel profile and model before ordering. If you already own a canopy and want to add walls to it, the model, frame profile, leg height, and attachment method all have to be confirmed first, because a wall from a different system may not reach or fasten correctly.
- New complete setup: order walls with the canopy so the configuration is matched from the start.
- Adding to an existing BoothBright canopy: quote the walls against your original order reference.
- Adding to a canopy from elsewhere: send the frame model, measurements, and photos of the attachment points so compatibility can be checked before anything is printed.
Wall orientation proof checklist
- The proof shows each wall in the position it will occupy: back, left, right.
- Left and right are labeled from a stated viewpoint, so nothing is mirrored by accident.
- Half walls carry artwork that still reads when only the lower band is visible.
- Interior faces are printed or plain exactly as you intended.
- Any specialty panel is assigned to the correct wall.
- Text clears seams, zip lines, window panels, and pole positions.
- The canopy top layout matches whether you chose the same or unique artwork per side.
- Frame type and size on the order match the walls you are approving.
- Weights, stakes, ropes, and a transport bag are accounted for in the order.
If you are still designing the artwork itself, the guide on designing a canopy people notice covers hierarchy, viewing distance, and how the valance, roof, and walls should divide the message between them.
Common questions
If I only buy one wall, which one?
The back wall. It hides the background, anchors the booth visually, and becomes the backdrop for photos taken inside your space.
Do half walls make the booth feel closed?
Not usually. They define the footprint at a lower height while leaving sightlines open, which is why they suit booths that need an orderly queue but still want an inviting front.
Can walls be added to a canopy I already own?
Sometimes, but only after the frame model, profile, height, and attachment method are confirmed. Send your original order reference or photos of the frame connections so compatibility can be checked before printing.
Does a walled canopy handle wind better?
No. Walls increase the surface the wind acts on. Follow the weight, anchoring, and weather guidance supplied with your frame and take the canopy down when conditions become unsafe.
Build the configuration and see it before you commit
Choose size, frame, walls, and printing in the configurator, or send your booth layout and let the BoothBright team suggest a wall setup.